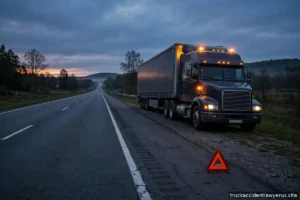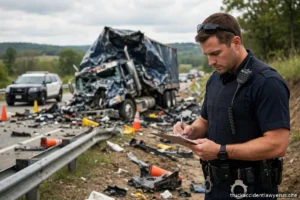
In truck accident claims, evidence wins. The trucking company will have professional investigators, and sometimes they reach the scene within hours. Your best counterweight is thorough documentation captured in the first minutes after the crash — before vehicles are moved, before skid marks fade, and before witnesses drive away.
You do not need special equipment. A smartphone and a calm, methodical approach are enough. This guide is the complete checklist: what to photograph, what to record, what to write down, and how to organize everything afterward so it is actually useful months later when the claim is being evaluated.
Before You Start: Safety and Mindset
Documentation comes after safety, always. Do not walk into traffic lanes for a better angle, do not climb on wreckage, and do not approach a truck that is leaking fuel or cargo. If the scene is not safe to move around in, document from where you are and let the professionals handle the rest.
Mentally, think like an investigator, not a participant. Your job is to capture facts, not to argue about what happened. Photograph first, talk later. The other driver does not need to approve of you taking photos in a public place — you have every right to document a crash you were involved in.
The Photo Checklist: What to Capture
Work through the scene systematically so you do not miss categories of evidence in the stress of the moment.
Vehicle positions and damage
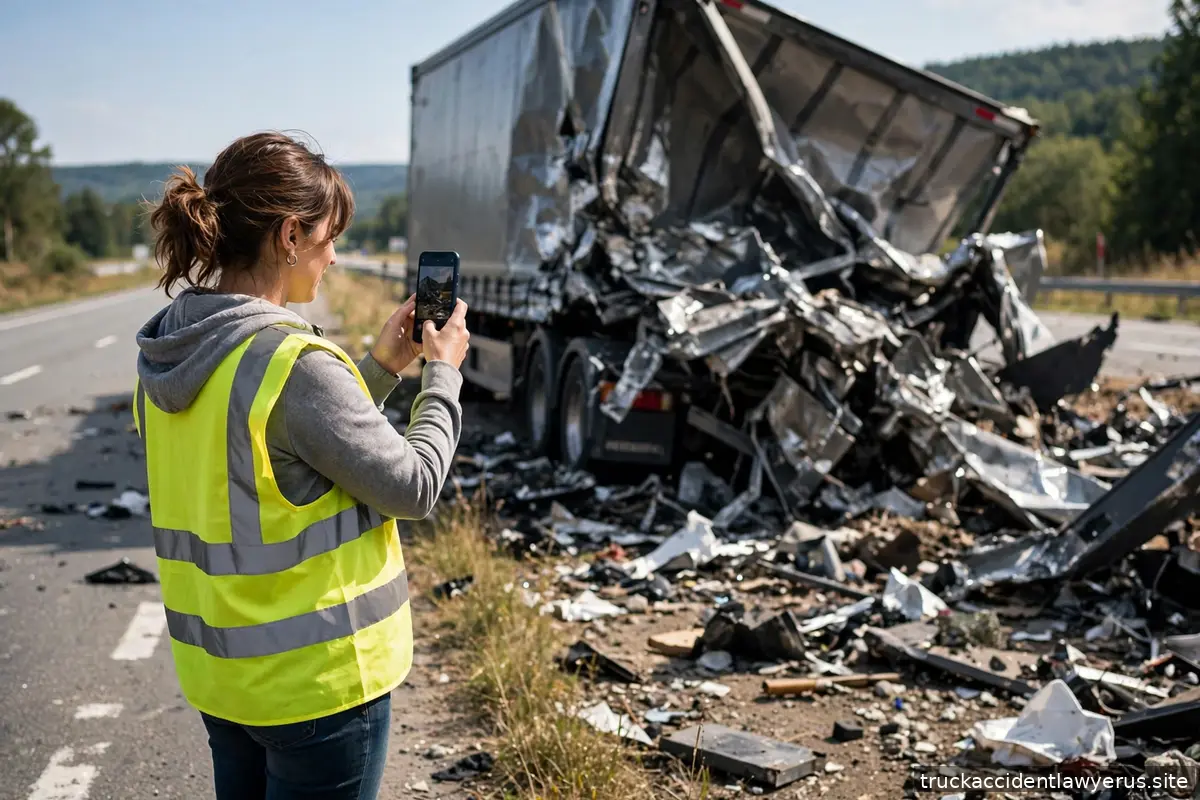
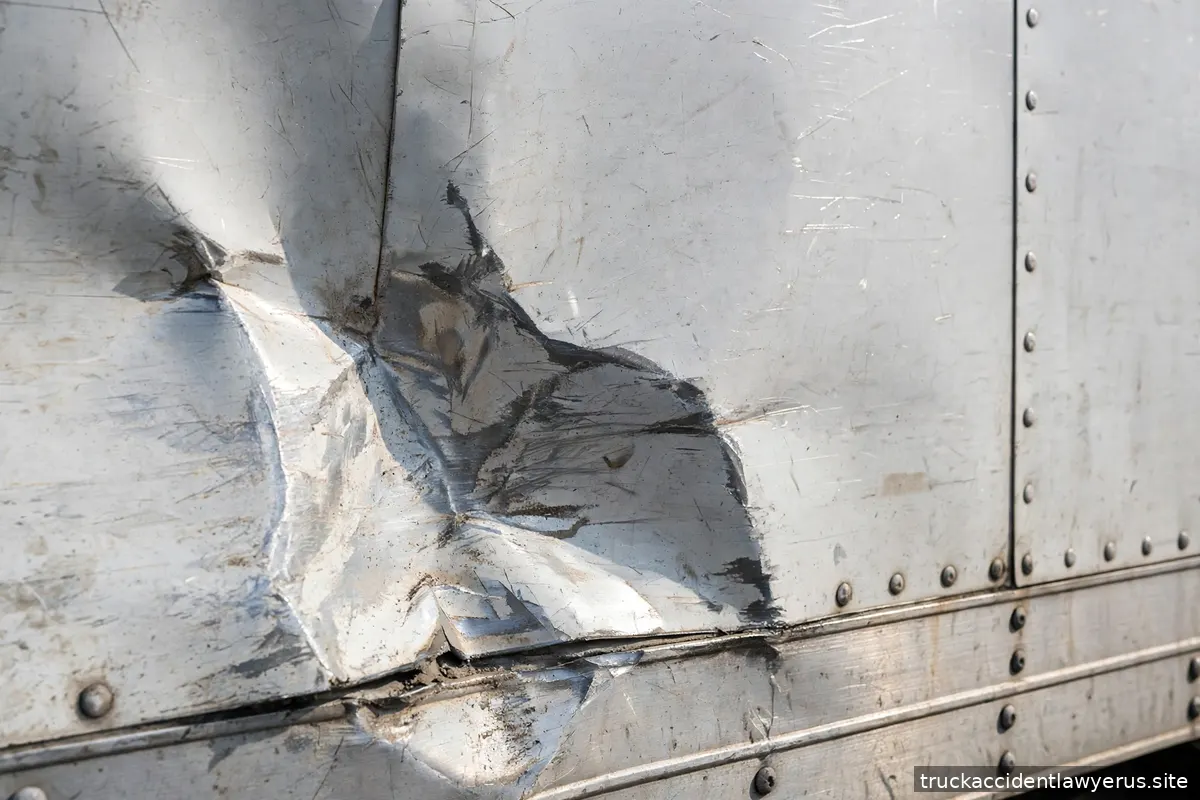
Photograph the resting positions of all vehicles before anything is moved — these show the geometry of the crash. Then photograph damage to every vehicle from multiple angles: wide shots for context and close-ups of crush damage, broken glass, and deployed airbags. Include your own vehicle’s damage thoroughly; insurers scrutinize it for consistency with your injury claims.
Truck identifiers
This is truck-specific and critical. Photograph the USDOT number and company name on the cab door, the truck’s license plate, the trailer number, and any logos or markings on the trailer. If there are multiple trailers, capture each one. These identifiers link the crash to the carrier’s federal safety record and insurance — get them even if you get nothing else.
Road and scene conditions
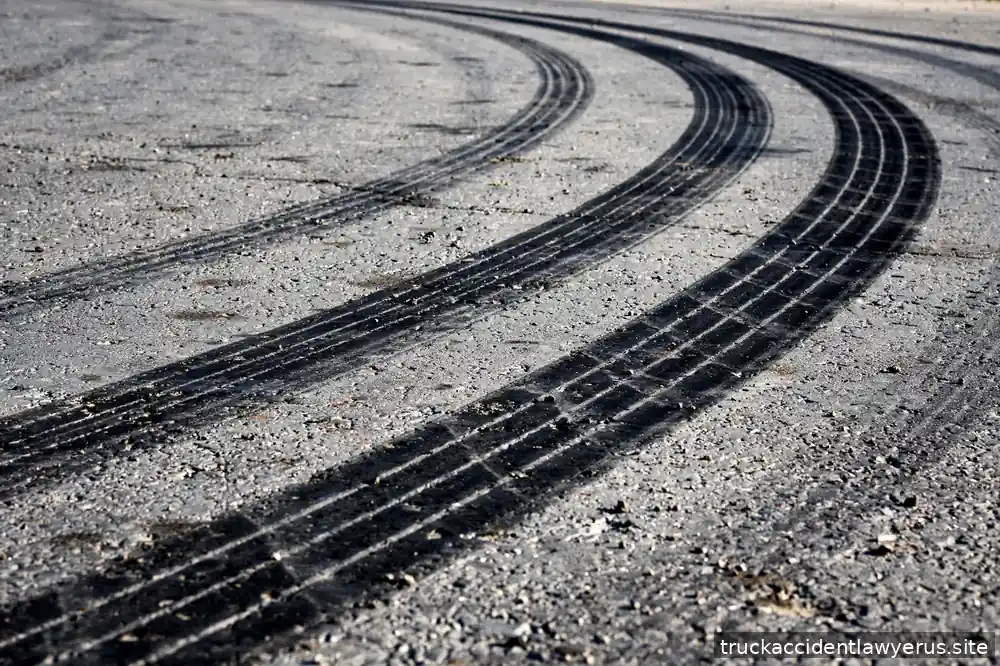
Capture skid marks (photograph along their length and note which vehicle you believe made them, without stating it as fact to anyone), debris fields, gouge marks in pavement, fluid spills, and the general road layout — lane markings, curves, intersections, traffic signals and signs. Photograph the speed limit signs and any warning signs near the scene.
Environment and visibility
Document weather, lighting, and visibility: wet pavement, sun glare, fog, construction zones, or obscured sight lines. Take a photo facing each direction of travel to show what each driver could see. If a view was blocked by parked vehicles, vegetation, or construction barriers, photograph the obstruction from the driver’s perspective.
Documents and people
Photograph the other driver’s license, insurance card, and any paperwork they show you — it is faster and more accurate than copying by hand. Photograph the police officers’ badge numbers or business cards and the report number. If there are visible injuries, photograph them (respectfully, and only with the person’s permission if it is not you).
Video: The Walk-Around Narration
After photos, record a continuous video walking slowly around the scene while narrating what you see: “This is the intersection of Route 9 and Miller Road, facing north. The truck is here, my car ended up there. The skid marks run from about here to here.” Narrate the time, weather, and anything unusual. A two-minute narrated video often communicates the scene better than fifty still photos, and it captures spatial relationships photos can miss.
Keep the narration factual — describe, do not conclude. “The truck’s trailer is across both lanes” is documentation; “he was obviously speeding” is a conclusion that could be used against you if you are wrong.
Witness Information: Get It Before They Leave
Independent witnesses are gold in disputed truck claims, and they vanish fast — most bystanders leave once police arrive or traffic starts moving. Politely ask witnesses for their name and phone number, and if willing, a 30-second video statement of what they saw. Do not coach them or suggest what they should say; just ask them to describe what they observed.
Note where each witness was positioned (“woman in the blue SUV behind me,” “pedestrian on the northeast corner”). Position affects what they could actually see, and investigators will ask. If a witness only gives partial information, take what you can get — even a first name and a phone number is far better than nothing.
Write Down Your Account Immediately
The same day, write or voice-record your own detailed account: where you were coming from and going to, your speed, lane position, what you saw the truck do, the sequence of impact, and what happened afterward. Include details that feel trivial — the truck’s turn signal, a horn, the exact words exchanged. Trivial details are often what make an account credible later.
Start an injury and impact journal the same day and keep it going: pain levels, medical visits, medications, sleep disruption, missed work, activities you cannot do. Update it briefly every few days. This journal becomes a powerful contemporaneous record of how the crash affected your life — the kind of evidence that is hard to argue with because it was written before anyone knew a claim would be disputed. It also supports the broader timeline in our step-by-step guide to what to do after a truck accident.
Organizing Everything Afterward
Within a day or two, back up all photos and videos to cloud storage — phones get lost, and local-only evidence is fragile. Create a single folder (digital or physical) for the crash and put everything in it: photos, videos, the police report number, witness contacts, medical documents, tow receipts, repair estimates, and correspondence with any insurer.
Rename key photos descriptively (“truck-dot-number.jpg,” “skid-marks-northbound.jpg”) while the details are fresh. Keep a simple log: date, what happened, who you talked to. If you later consult a lawyer, handing over an organized file instead of a jumbled camera roll makes their job faster and your case stronger — see what to expect in your first meeting with a truck accident lawyer for how to prepare.
What Not to Do While Documenting
Do not move evidence unnecessarily — let police mark positions first if they are on the way. Do not post scene photos or commentary on social media; insurers routinely monitor claimants’ public posts, and an upbeat photo can be used to question injury claims. Do not interview the truck driver on video or argue about fault on camera. And do not delay: every hour that passes, evidence degrades — vehicles get repaired, electronic data gets overwritten, witnesses forget.
Special Situations Worth Documenting
Not every truck crash is a simple two-vehicle collision. In a multi-vehicle pileup, photograph the full sequence of vehicles and note the order you believe they came to rest in — chain-reaction crashes produce competing stories about who hit whom first, and your early photos may be the only record of the original positions before tow trucks rearrange everything.
If cargo has spilled or shifted, document it from a safe distance: what the cargo appears to be, where it landed, and whether it blocked lanes or struck other vehicles. Spilled cargo can point to loading or securement failures, which opens questions about the shipper’s or loader’s role — a separate avenue of liability many people never consider. Never touch or move cargo yourself; some freight is hazardous, and disturbing it can also complicate the investigation.
In a hit-and-run involving a truck, every identifier becomes critical: partial plate numbers, trailer markings, company colors, the direction the truck traveled, and any distinguishing damage. Report it to 911 immediately with as much detail as you can, and ask nearby businesses about exterior cameras right away — a fleeing truck is often captured on a gas station or warehouse camera within minutes of the scene.
Finally, if hazardous materials placards (the diamond-shaped warning signs) are visible on the truck, photograph them from a safe distance and mention them to 911. Hazmat involvement changes the emergency response and creates additional regulatory records that can matter later.
Related guides: Truck Driver Negligence: Common Causes of Crashes, 2026: New Safety Technology Rules on the Horizon for Trucks, How Long Does a Truck Accident Settlement Take?.
Frequently Asked Questions
What if I’m too hurt to document anything?
Your health comes first — always. If you cannot document, ask a passenger, bystander, or family member to take photos for you. Police, tow operators, and later investigators will also generate records. Missing scene photos is not fatal to a claim, especially with serious injuries where other evidence exists.
Does dashcam footage count as documentation?
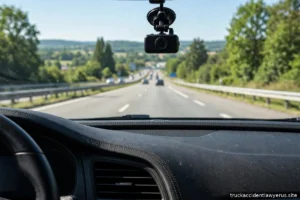
Absolutely — it is often the best evidence available. Preserve the footage immediately (copy it off the card so it is not overwritten) and do not edit it. Dashcam video is becoming increasingly important in truck cases, as we explore in our 2026 look at how dashcam footage is changing truck crashes.
What if the crash happened at night or in bad weather?
Use your flash, take more photos than you think you need, and narrate conditions explicitly in your video (“visibility is about 100 feet in this fog”). Return in daylight only if it is safe and legal to do so — never stop on a highway shoulder just for photos.
Can I use photos taken by a passenger or bystander?
Yes. Photos taken by anyone at the scene can be useful evidence regardless of who held the camera. If a passenger or witness took photos or video, ask them to send you the original files promptly — with timestamps intact — and note who took them. The same goes for photos taken by police or tow operators; these can often be obtained later through records requests, though your own same-day photos remain the most reliable set because you control the timing and completeness.
What if my car was repaired before I photographed the damage?
Repair estimates, body shop invoices with damage descriptions, and photos taken by the repair shop can partially fill the gap. Ask the shop whether they photographed the vehicle on intake — many do as standard practice. Going forward, the lesson is to photograph damage before authorizing repairs, even if the car still looks drivable.
This guide is for general information only and is not legal advice. If you were seriously hurt, consider preserving evidence formally through an attorney as early as possible.